Elementer for Selenium
For UI automation, Page object management has always been a hassle. There are many libraries which help in externalizing the elements and their actions.
But what if there is a plugin that helps you build the page locators as you inspect elements in the browser? That would save most of your time and no dual work would be required.
Here, meet Elementer. The chrome extension which builds your element locator strategy.
Pre-requisite
- Chrome browser
- Elementer Chrome Extension
Gist
Create, Edit & Update Page Element files using the plugin and export to JSON. This page file contains element name, locator entries across locale. It can be used by any page management library but we have tested with SimpleSe framework. Thanks to Krishnan Mahadevan and Dineshkumar Kuppan for helping in providing continuous feedback in improving the product with SimpleSe framework.
Creation
Let’s take an example of a website with 3 page navigations from https://the-internet.herokuapp.com/login.
- Login
- Home
- Login (again)
By choice, you can maintain 2 pages separately and have the elements grouped under each page.
Now let’s go through the journey with Elementer. Ensure Pre-Requisite is met.
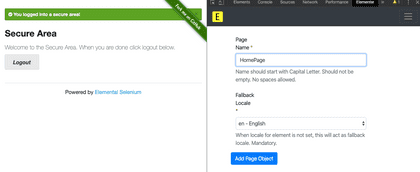
- Open the website and open inspector. Select Elementer tab.
- Add a new Page.
Click on hamburger icon, Create Page Object.
You will land in Add page screen. Enter Page Name, select default Fallback Locale and click Add Page Object
- Add Element details
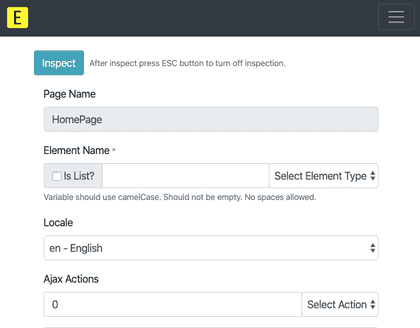
Enter element name and select element type
Click Inspect button on top and click on the relevant element in webpage.
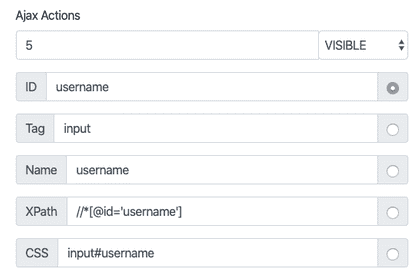
After inspection, select the valid locator strategy or modify any field.
Select Ajax action (Visible/Clickable/Available) with wait duration.
Ajax actions are wait conditions in Selenium and this field can pick up wait strategy, duration from JSON to create custom Wait conditons.
Finally, click Add Element button.
Now, go ahead and add other elements. In this case, we have added user name, password, login button elements. Enter credentials and navigate to next page.
- Add Pages, Elements as per flow.
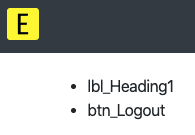
We have added Home Page. Under it, heading and Logout button elements are added.
- Edit Element/Page
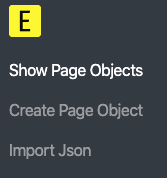
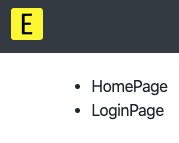
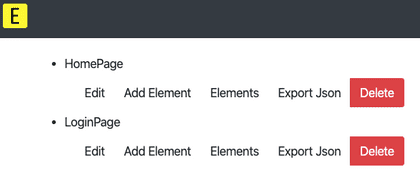
If page or element details need to be edited, click on Hamburger icon on top, select Show Page Objects. The list of pages will be displayed.
If JSON files from machine needs to be edited, Click on hamburger icon, Import Json.
Click Browse and select the JSON file.
Click on Import Page Object to update it.
Click on relevant page.
Here, we can edit page/add element/export JSON.
Assuming, we have to edit an existing element, click on Elements
Click on relevant element.
If a new locale is to be added for the same element, click on Add Locale. Or if existing locale needs an update, click on Locale List and click respective Locale, Edit button.
Locales are helpful when a single element may have different attributes based on Locale. Each Page will have default locale and each element will have a list of locales with locators.
Upon updates, click on Update Element button.
- Export Page JSON
Click on Hamburger icon on top, select Show Page Objects. The list of pages will be displayed.
Click on each page and click on Export Json button.
This will download the JSON files to the machine.
These files are self explanatory and any Json parser can be written to extract values.
In SimpleSe terms, ideally the JSON files are placed under src/test/resources/ folder.
Now go ahead and build Page Elements with ease using Elementer.
Please leave your review in the chrome store and also make sure you send your love through some stars here.
The source code of the extension is open-sourced fully with MIT license. In case you find any issues or need any features, please feel free to raise a github issue here.
Thanks to Bharath Kumar Chandramouli for writing this detailed documentation.

